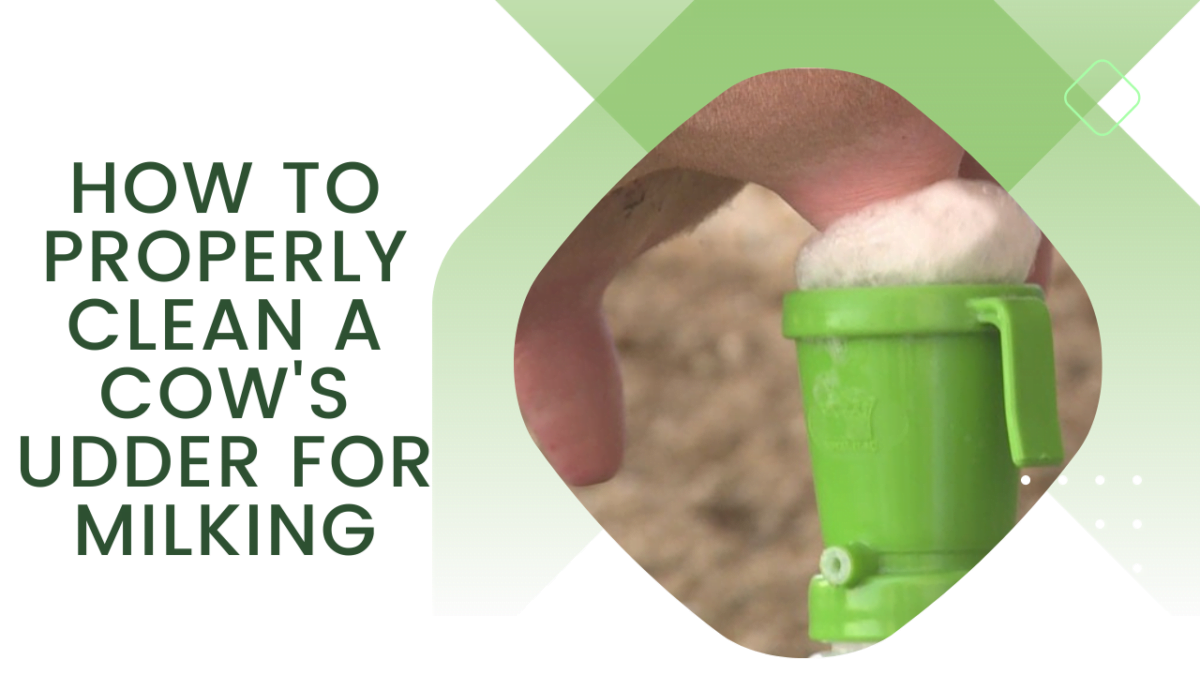
When it comes to milking cows, ensuring proper udder hygiene is of paramount importance. A clean udder not only promotes the health and well-being of the cow but also contributes to the quality and safety of the milk produced. In this comprehensive guide, we’ll walk you through the steps to effectively clean a cow’s udder before milking, ensuring the best outcomes for both the animal and the dairy products.
Table of Contents
Introduction
Why Udder Cleaning Matters
Tools and Supplies You’ll Need
Step-by-Step Guide to Cleaning a Cow’s Udder
Step 1: Prepare the Cleaning Area
Step 2: Gather Necessary Equipment
Step 3: Pre-Milking Udder Inspection
Step 4: Wet the Udder
Step 5: Apply Udder Cleanser
Step 6: Gently Scrub and Clean
Step 7: Thoroughly Rinse the Udder
Step 8: Dry the Udder
Step 9: Post-Cleaning Inspection
Best Practices for Udder Hygiene
Frequency of Udder Cleaning
Benefits of Proper Udder Cleaning
Common Mistakes to Avoid
Conclusion
Introduction
Maintaining a high standard of cleanliness while milking cows is not only vital for the health of the animals but also for producing safe and quality dairy products. Proper udder cleaning helps prevent the spread of infections, ensures better milk production, and fosters a healthier environment for the cows.
Why Udder Cleaning Matters
Udder cleaning is a crucial step in the milking process. The udder is susceptible to dirt, bacteria, and contaminants that can compromise the quality of the milk. By cleaning the udder before each milking session, you reduce the risk of bacterial contamination and improve milk quality.
Tools and Supplies You’ll Need
Before you start the cleaning process, gather the following tools and supplies:
*Warm water
*Udder cleanser or mild soap
*Clean, soft cloths or paper towels
*Bucket or basin
*Gloves (for the milker)
*Towels for drying
Step-by-Step Guide to Cleaning a Cow’s Udder
Step 1: Prepare the Cleaning Area
Designate a clean and comfortable area for the cow to be milked. This can be a milking parlor or a well-lit barn stall.
Step 2: Gather Necessary Equipment
Ensure you have all the tools and supplies within arm’s reach before bringing in the cow.
Step 3: Pre-Milking Udder Inspection
Examine the udder for any signs of abnormalities or inflammation. This ensures you catch any potential issues early on.
Step 4: Wet the Udder
Using warm water, wet the udder thoroughly. This helps remove loose dirt and debris.
Step 5: Apply Udder Cleanser
Gently apply udder cleanser or a mild soap to the udder. Be cautious not to use harsh chemicals that could harm the cow or affect milk quality.
Step 6: Gently Scrub and Clean
Using a clean cloth or soft brush, gently scrub the udder to remove dirt, bacteria, and residues.
Step 7: Thoroughly Rinse the Udder
Ensure that all cleanser or soap is completely rinsed off to prevent contamination of the milk.
Step 8: Dry the Udder
Use clean towels to dry the udder thoroughly. Moisture can lead to bacterial growth, so make sure the udder is completely dry before milking.
Step 9: Post-Cleaning Inspection
Take another look at the udder to ensure it’s clean and free from contaminants before attaching the milking machine.
Best Practices for Udder Hygiene
Clean the udder before every milking.
Use only approved udder cleansers or mild soaps.
Keep the milking environment clean and well-maintained.
Monitor the udder for any signs of infection regularly.
Frequency of Udder Cleaning
Udder cleaning should be done before every milking session to maintain consistent hygiene.
Benefits of Proper Udder Cleaning
Improved milk quality
Reduced risk of mastitis and other infections
Enhanced cow comfort and well-being
Common Mistakes to Avoid
Using harsh chemicals on the udder
Inadequate rinsing, leading to milk contamination
Skipping the pre-milking udder inspection
Conclusion
Properly cleaning a cow’s udder before milking is a crucial practice that ensures both the health of the cow and the quality of the milk produced. By following the outlined steps and best practices, you contribute to the overall well-being of the animals and the excellence of the dairy products.
FAQs
Q1: Can I use regular soap to clean the udder? A: It’s recommended to use udder cleansers or mild soaps specifically designed for this purpose to avoid any potential harm to the cow or the milk.
Q2: How often should I inspect the udder for abnormalities? A: Regular visual inspections should be conducted before every milking session to catch any issues early.
Q3: Can I skip the post-cleaning inspection if the udder looks clean? A: No, it’s essential to perform a post-cleaning inspection to ensure that no contaminants remain on the udder.
Q4: What is mastitis, and how does proper udder cleaning prevent it? A: Mastitis is an udder infection. Proper cleaning reduces the risk of introducing bacteria, which can lead to mastitis.
Q5: Is udder cleaning necessary for automated milking systems? A: Yes, even with automated systems, maintaining udder hygiene is important to prevent contamination and maintain cow health.


